Have you ever had a clogged spray can while you were painting? You may still have some paint in your can, but it won’t come out and you don’t want to waste it getting new paint. This usually happens because the nozzle is stuck with dried paint, which causes the nozzle to seal. You need to clean the dried paint, which isn’t difficult. Here are some tips to help you solve this frustrating situation. Follow our advice and say goodbye to wasted paint.
Replacing the nozzle
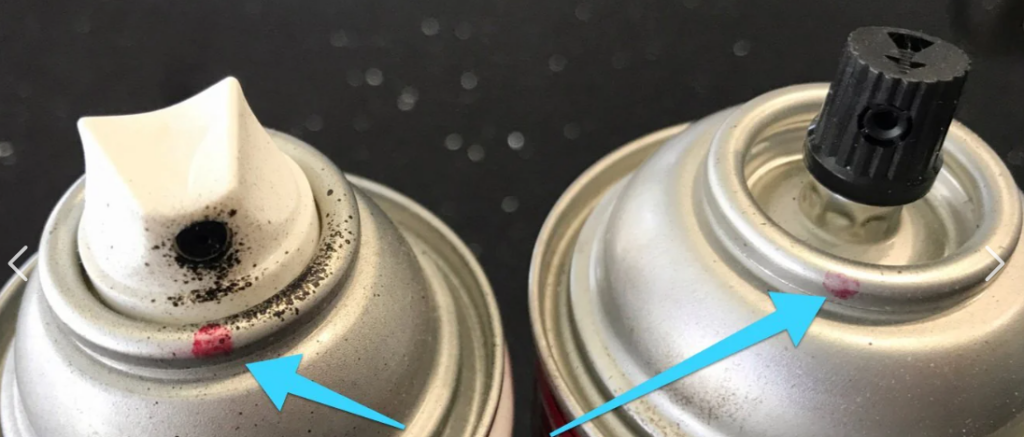
No matter what kind of spray paint you use, when your spray can stops spraying, you can remove the nozzle from a new spray can or an old can and install it in the clogged spray can. This is the easiest and most convenient way. Remember that you need to use the same size nozzle. Although the nozzles look the same, they are not exactly the same. Using the wrong nozzle can be dangerous.
Cleaning the straw and nozzle
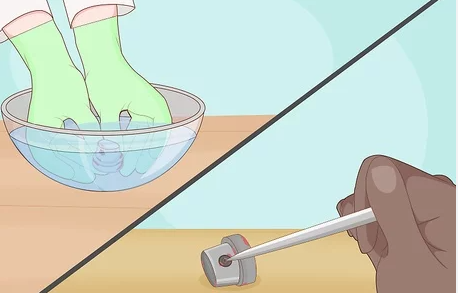
Changing the nozzle is not always the best way to solve the problem. If you don’t have a compatible nozzle, you will need to clean the paint that is clogging the nozzle. To do this, you can either disassemble the nozzle and place it in hot water for about 15 minutes to soften the dried paint, hoặc
soak the nozzle in paint thinner, remove the nozzle after a few minutes, and clean the nozzle with a pin. You can also soak it in alcohol or white vinegar. If it still doesn’t work, you can replace the nozzle or the problem is not with the nozzle. Instead, cleaning the straw in the bottle will help.
How to prevent spray paint cans from clogging
Preventing spray paint cans from clogging is an important step to maintain the quality of spraying. We can avoid spray cans from clogging by the following methods
1、Clean the nozzle after spraying: After each use of the spray can, immediately invert the spray can and press the nozzle for a few seconds to remove the residual paint in the pipe and nozzle. This prevents the nozzle from drying and clogging.
2、Keep the nozzle clean: Check the nozzle regularly for dry paint accumulation. If there is dried paint on the nozzle, it can be gently removed with a fine needle or soft brush.
3、Store the spray can properly: Spray cans should be placed in a dry place away from direct sunlight and extreme temperatures to prevent unstable pressure in the can and paint deterioration, which can cause clogging.
4、Avoid long-term non-use: If the spray can is not used for a long time, the paint in the can may thicken and easily clog the nozzle. It is recommended to use it frequently or test the spray every once in a while.
5、Shake the can before use: The pigment in the spray can may settle. Shaking the spray can fully before use can ensure that the paint inside is evenly mixed to prevent uneven concentration from causing clogging.
6、Emergency treatment when the nozzle is clogged: If the nozzle is clogged, you can remove the nozzle and soak it in warm water or diluent, and then use a needle to gently clear the spray hole after a few minutes.
Bản tóm tắt
The clogging problem of spray paint cans is very common in daily life, but it can be effectively solved through the above methods. Trong thực tế, as long as the user cleans and maintains the spray paint cans after the project is completed, it is the key to avoid clogging. When we learn how to clean, use the spray paint cans correctly and how to solve the problem of nozzle clogging, we will save a lot of time and paint in future projects.


