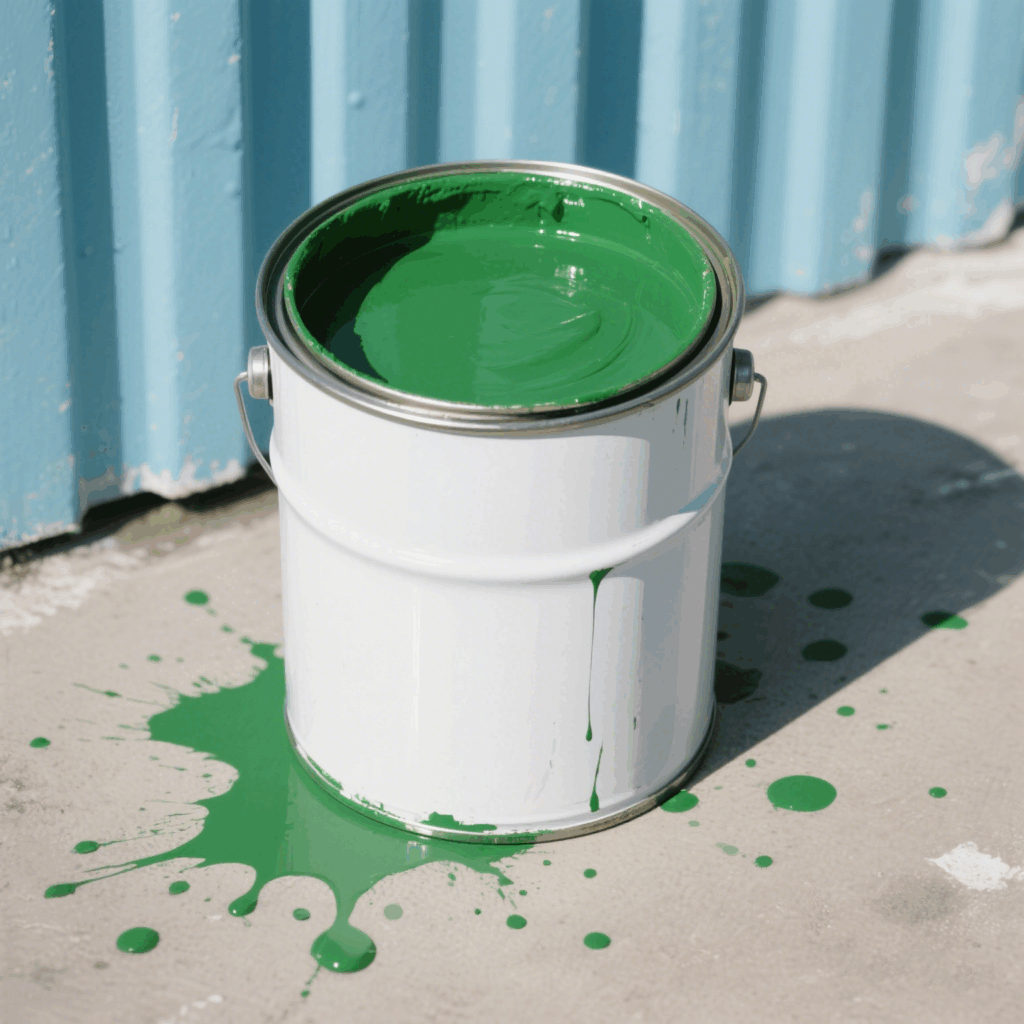
Dealing with the annoyance of clogged spray paint nozzles can be a major setback to any project, whether it’s a small craft project or a large painting job. Not only can clogged paint spray nozzles hinder progress, but they can also waste valuable paint and time if not promptly and effectively addressed. Understanding the common causes of clogged paint nozzles is essential to preventing clogs from occurring, as well as knowing how to fix them. This includes identifying the buildup of dried paint or the presence of debris that can obstruct the spray mechanism within the spray can, causing an uneven spray pattern or a complete clog.
To provide solutions, this article dives into several proven methods for unclogging spray paint nozzles, including the use of everyday household items like vinegar solutions and rubbing alcohol, as well as paint thinners and lacquer thinners for more stubborn clogs. Each method offers a step-by-step approach to safely and effectively restoring the functionality of your paint spray nozzles, ensuring your clogged spray nozzles become a thing of the past

Method 1: Vinegar Solution
Benefits of Using Vinegar
Not only is vinegar a kitchen essential, it’s also an effective cleaning agent, especially for unclogging spray paint nozzles. It’s a weak acid, perfect for dissolving mineral deposits and debris that can clog spray mechanisms. Here are some of the key benefits of using vinegar:
Non-Toxic and Safe: Vinegar is safe and non-toxic to use, making it a great choice for families looking to avoid harsh chemicals
Cost-Effective: It’s an inexpensive option that delivers effective results without the need for specialized products
All-Purpose Cleaner: In addition to unclogging, vinegar can also degrease, clean mold, remove odors, and even kill bacteria
How to Prepare and Use the Solution
To effectively use vinegar to unclog spray paint nozzles, follow these detailed steps:
Prepare the vinegar solution:
Mix equal parts white vinegar and water in a bowl or container. For more stubborn clogs, you can use undiluted white vinegar for added cleaning power
Soak the nozzle:
Remove the nozzle from the spray paint can. Completely submerge it in the vinegar solution, making sure all openings are covered. If necessary, add more vinegar to completely submerge the nozzle
Wait and let it do its thing:
Allow the nozzle to soak in the vinegar solution for at least an hour and a half. This time helps the vinegar effectively break down dirt and mineral deposits
Cleaning the nozzle:
After soaking, remove the nozzle and inspect it for any remaining deposits. Use a toothpick to gently remove any debris from the nozzle hole
Rinse the nozzle thoroughly with warm water to wash away any vinegar and loose deposits
Reassemble and test:
Reattach the nozzle to the paint spray can. Test the spray function to ensure that the clog has been successfully cleared and that the paint is spraying evenly
By following the steps below, people can restore the functionality of a clogged paint spray nozzle using a simple vinegar solution. Not only is this method effective, but it also promotes a safer, more environmentally friendly approach to household cleaning and maintenance.
Method 2: Paint Thinner
Paint thinner is a potent solution commonly used to address the problem of clogged spray paint nozzles. Its primary function is to dissolve the paint, making it an effective method for clearing blockages. When dealing with oil-based paints or enamels, soaking the nozzle in a solvent like paint thinner or mineral spirits is particularly effective 3. This is due to the solvent’s ability to break down oil and enamel, which are components that typically require stronger substances to dissolve once dried.
Steps to Unclog the Nozzle with Paint Thinner
To successfully unclog a spray paint nozzle using paint thinner, follow these detailed steps:
Veiligheid eerst:
Before handling paint thinner, it is crucial to wear protective gloves to avoid any direct contact with the skin, which could cause irritation
Remove and Soak the Nozzle:
Carefully detach the nozzle from the spray paint can and submerge it in a container filled with paint thinner. Ensure the nozzle is fully immersed to allow the thinner to penetrate and dissolve the clogs
Soaking Duration:
Allow the nozzle to soak for at least 24 uur. This duration is necessary to ensure the paint thinner has ample time to break down the paint residues effectively
Clearing the Nozzle:
After soaking, use a small pin or a wire from a twist tie to gently remove any softened paint from the nozzle’s tiny tube. Be careful not to distort the shape of the tube while clearing it
Testing and Reassembly:
Once the nozzle is cleaned, reattach it to the spray paint can. To test if the clog has been cleared, invert the can and spray onto a piece of newspaper. If the paint sprays evenly, the nozzle is successfully unclogged
Door deze stappen te volgen, one can effectively restore the functionality of a clogged spray paint nozzle using paint thinner. This method not only clears the blockage but also helps maintain the spray paint can for future use, ensuring smooth and even application.
Method 3: Rubbing Alcohol
Why Rubbing Alcohol Works
Rubbing alcohol is highly effective for unclogging spray paint nozzles due to its solvent properties, which can dissolve the sticky residues that cause blockages. It is particularly useful for dealing with the buildup of paint and other substances that are not water-soluble. Rubbing alcohol evaporates quickly, which helps to dry out the nozzle quickly after cleaning, reducing the risk of further clogs caused by lingering moisture .
Detailed Instructions to Use Rubbing Alcohol
To effectively use rubbing alcohol to unclog a spray paint nozzle, follow these steps:
Voorbereiding:
Ensure the spray paint can is disconnected from any power source and is depressurized. Indien mogelijk, remove any excess paint from the nozzle by spraying it out before cleaning
Soaking the Nozzle:
Detach the nozzle from the spray paint can. Submerge the nozzle fully in a small container filled with rubbing alcohol. Make sure the entire nozzle is covered with alcohol to allow thorough cleaning
Duration of Soak:
Let the nozzle soak in the rubbing alcohol for approximately two minutes. This duration is sufficient for the alcohol to penetrate and dissolve most types of residues
Cleaning Process:
After soaking, remove the nozzle and rinse it under hot water to wash away the dissolved residues and any remaining alcohol. This step is crucial to ensure that no alcohol residue remains as it might affect the paint quality
Drying and Reassembly:
Dry the nozzle thoroughly with a clean, dry cloth. Reattach the nozzle to the spray paint can, ensuring it is securely fastened
Testen:
Test the nozzle by spraying on a scrap piece of material to ensure it is no longer clogged and that the spray pattern is even and consistent
By following these instructions, one can easily and safely restore the functionality of a clogged spray paint nozzle using rubbing alcohol, ensuring minimal downtime in their painting projects. This method is not only quick but also environmentally safer compared to using harsher chemical solvents.
Method 4: Replacement Spray Paint Nozzles
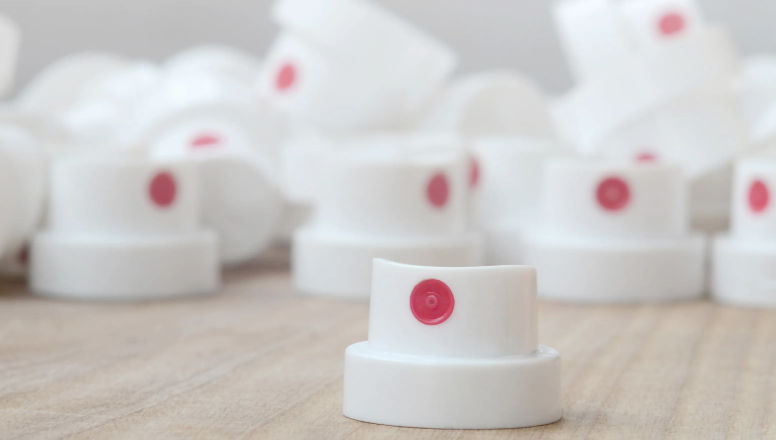
A clogged spray can nozzle is one of the most common problems. Sometimes cleaning the nozzle doesn’t completely solve the problem. Replacing the nozzle is an effective solution. First, prepare a replacement nozzle. Volgende, gently remove the clogged nozzle from the spray can, usually just by gently pulling it out. Be careful when removing the nozzle to avoid excessive force to avoid damaging the nozzle or the spray can. Then, align the replacement nozzle with the valve of the spray can and gently press until the nozzle is firmly installed on the valve. Make sure the nozzle is installed correctly and is not loose. Volgende, press the newly installed nozzle to test to make sure the spray can is working properly
Conclusie
The importance of keeping your spuitbussen in top working condition cannot be overstated, as it directly impacts work quality and efficiency. In this article we offer a set of reliable solutions to ensure smooth, uninterrupted use of your spray nozzles. Each solution is carefully designed to help efficiently and safely restore nozzle function, ensuring that your spray painting projects proceed unhindered.