Paint cans. They’re a staple in garages, workshops, and utility closets across the world. Whether you’re a seasoned DIYer gearing up for a home renovation, an artist bringing a vision to life, or just someone needing to touch up a scuffed wall, understanding the ins and outs of paint cans is surprisingly crucial. This guide is designed to be your one-stop resource, demystifying everything from how to get that stubborn lid off to what to do with the can once your project is complete. Let’s dive in!
Understanding the Basics: What Exactly Am I Dealing With?
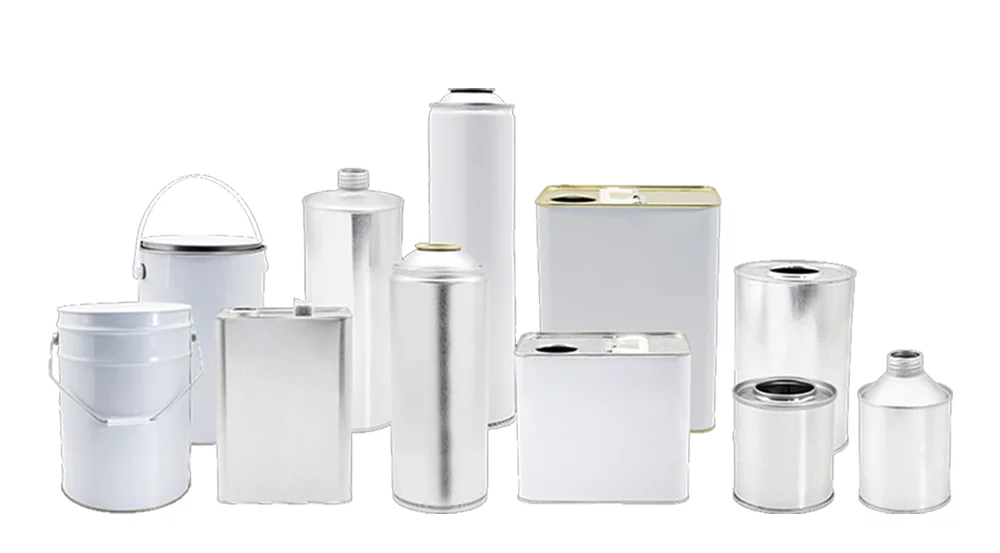
Before we get into the “how-tos,” it’s helpful to understand the different types of paint cans you might encounter.
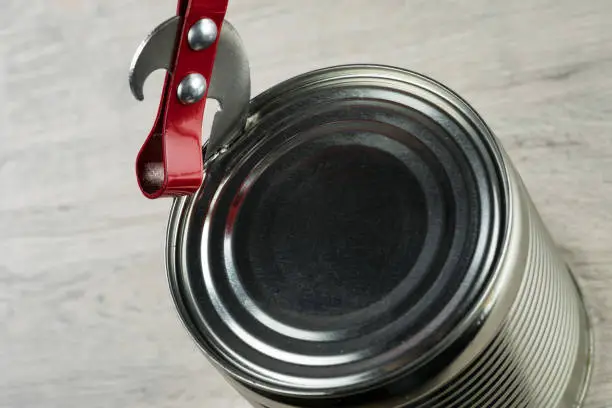
- Traditional Metal Paint Cans (Friction-Fit Lid): These are the classic cans, typically made of steel, used for liquid paints like latex, acrylic, or oil-based varieties. They feature a lid that creates an airtight seal by fitting snugly into a groove on the can’s rim. These are the ones that often require a tool to open.
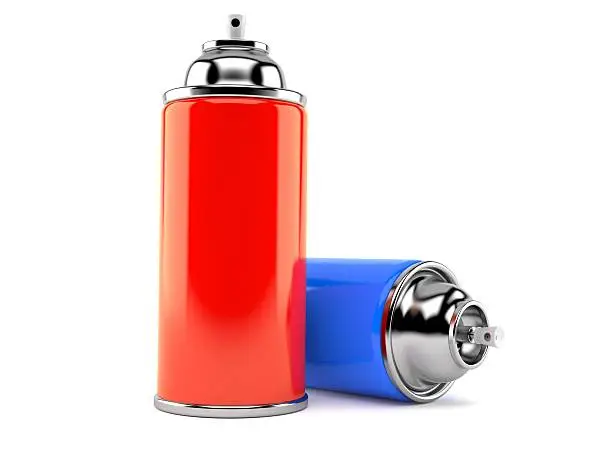
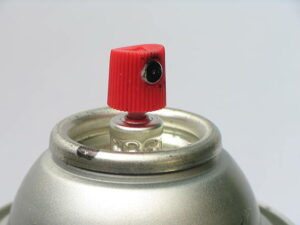
- Aerosol or Spray Paint Cans: These cans are pressurized and contain paint mixed with a propellant. They feature a nozzle or actuator on top for spraying. They are incredibly convenient for quick jobs, even coverage on intricate surfaces, and projects where brush strokes are undesirable.

- Plastic Paint Cans: While less common for all types of paint, some manufacturers use plastic cans, especially for certain water-based paints. These often have similar friction-fit or screw-top lids.
For this guide, we’ll focus heavily on the first two, as they are the most prevalent and generate the most user questions.
How to Open a Paint Can (The Traditional Metal Kind) – No More Spills!
This is often the first hurdle for many. A poorly opened paint can lead to a bent lid (meaning it won’t seal properly again), paint spills, and a lot of frustration. Here’s how to do it right:
Tools You’ll Need:
- Paint Can Opener: This is the best tool for the job. It’s inexpensive, widely available, and designed specifically to pry the lid open with minimal damage. It usually has a curved tip that fits under the lid’s edge and a comfortable handle for leverage.
- Flat-Head Screwdriver: A common alternative if you don’t have a dedicated opener. Choose one with a sturdy, relatively thin blade. Avoid using very small or very sharp screwdrivers, as they can puncture or deform the lid more easily.
- A Rag or Paper Towel: Essential for wiping off any dust from the lid before opening and catching any minor drips.
Step-by-Step Guide to Opening:
- Prepare Your Area: Lay down a drop cloth or newspaper to protect your work surface from potential spills.
- Clean the Lid: Wipe the top of the paint can, especially around the rim and lid groove, with a damp rag. This prevents any dust, dirt, or rust particles from falling into your fresh paint.
- Position Your Tool:
- With a Paint Can Opener: Place the curved tip of the opener under the edge of the lid.
- With a Screwdriver: Insert the flat tip of the screwdriver into the slight gap between the lid and the can’s rim.
- Pry Gently: Apply gentle downward pressure on the handle of your tool, using the can’s rim as a fulcrum to lift the lid slightly. You should hear a faint hiss as the air seal breaks.
- Work Your Way Around: This is the crucial step. Don’t try to pry the lid off from a single point. Instead, move your tool about an inch or two along the rim and pry again. Repeat this process, working your way around the entire circumference of the lid. This lifts the lid evenly and prevents it from bending.
- Lift the Lid: Once you’ve worked all the way around, the lid should be loose enough to lift off easily with your fingers. If it’s still snug in a spot or two, give those areas another gentle pry.
- Wipe Excess Paint: If there’s paint on the inside of the lid or in the rim’s groove, wipe it clean with your rag or pour it back into the can. This ensures a better seal when you close it later.
Pro Tips for Opening:
- Avoid brute force: Patience is key. Gentle, successive prying is much more effective and less damaging than trying to yank the lid off.
- Don’t puncture the lid: Be careful not to drive your screwdriver through the lid.
- If the lid is really stuck: 時々, old paint can effectively glue the lid shut. You might need to apply slightly more pressure, but still work your way around. In extreme cases, carefully tapping the end of the screwdriver (if using one) with a rubber mallet can help break the seal, but do this very cautiously.

Using an Aerosol Paint Can (Spray Paint Can) Effectively
Spray paint cans are fantastic for smooth, even finishes, but they require a slightly different approach than brush-on paints.
How to Use an Aerosol Can:
- Safety First:
- Ventilation: Always use spray paint in a well-ventilated area, preferably outdoors or in a garage with the door open. If indoors, use a respirator designed for paint fumes.
- Protection: Wear safety goggles to protect your eyes, gloves to keep paint off your hands, and old clothing or a painter’s suit.
- Preparation is Key:
- Clean Your Surface: Ensure the object you’re painting is clean, ドライ, and free of grease, rust, or dust. Sanding or priming may be necessary depending on the material and desired finish.
- Protect Surroundings: Use drop cloths or masking tape to cover any areas you don’t want painted. Overspray can travel surprisingly far.
- Shake, Shake, Shake: This is vital! Most aerosol cans contain a mixing ball (often a small metal pea). You need to shake the can vigorously for at least 1-2 minutes 後 you hear the ball rattling. This ensures the pigment and propellant are thoroughly mixed for even color and flow. If you don’t shake enough, you might get inconsistent color or propellant only.
- テストスプレー: Before spraying your project, do a quick test spray on a piece of cardboard or scrap material. This helps you get a feel for the spray pattern and nozzle pressure, and ensures the paint is mixed correctly.
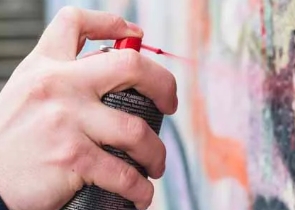
- Application Technique:
- Distance: Hold the can upright, about 8-12 inches (20-30 cm) away from the surface. Holding it too close can cause runs and drips; too far can result in a dusty, uneven coat.
- Motion: Use smooth, sweeping motions, moving the can back and forth. Start spraying just before you reach the edge of the object and continue spraying just past the opposite edge. This prevents thick build-ups at the start and end of each pass.
- Overlap: Overlap each pass by about one-third to one-half to ensure even coverage.
- Light Coats: It’s always better to apply several thin coats rather than one thick coat. Thick coats take longer to dry and are more prone to running and sagging. Allow each coat to dry according to the manufacturer’s instructions (usually 15-30 minutes between coats, longer for full cure).
- Clear the Nozzle: After you’re finished painting (or between long pauses), turn the can upside down and spray for a few seconds until only clear propellant comes out. This clears the nozzle and prevents it from clogging. Wipe any paint off the nozzle tip with a rag.
- Drying Time: Allow the painted item to dry completely in a well-ventilated, dust-free area. Full cure time can vary from a few hours to 24 hours or more, depending on the paint type, temperature, and humidity.

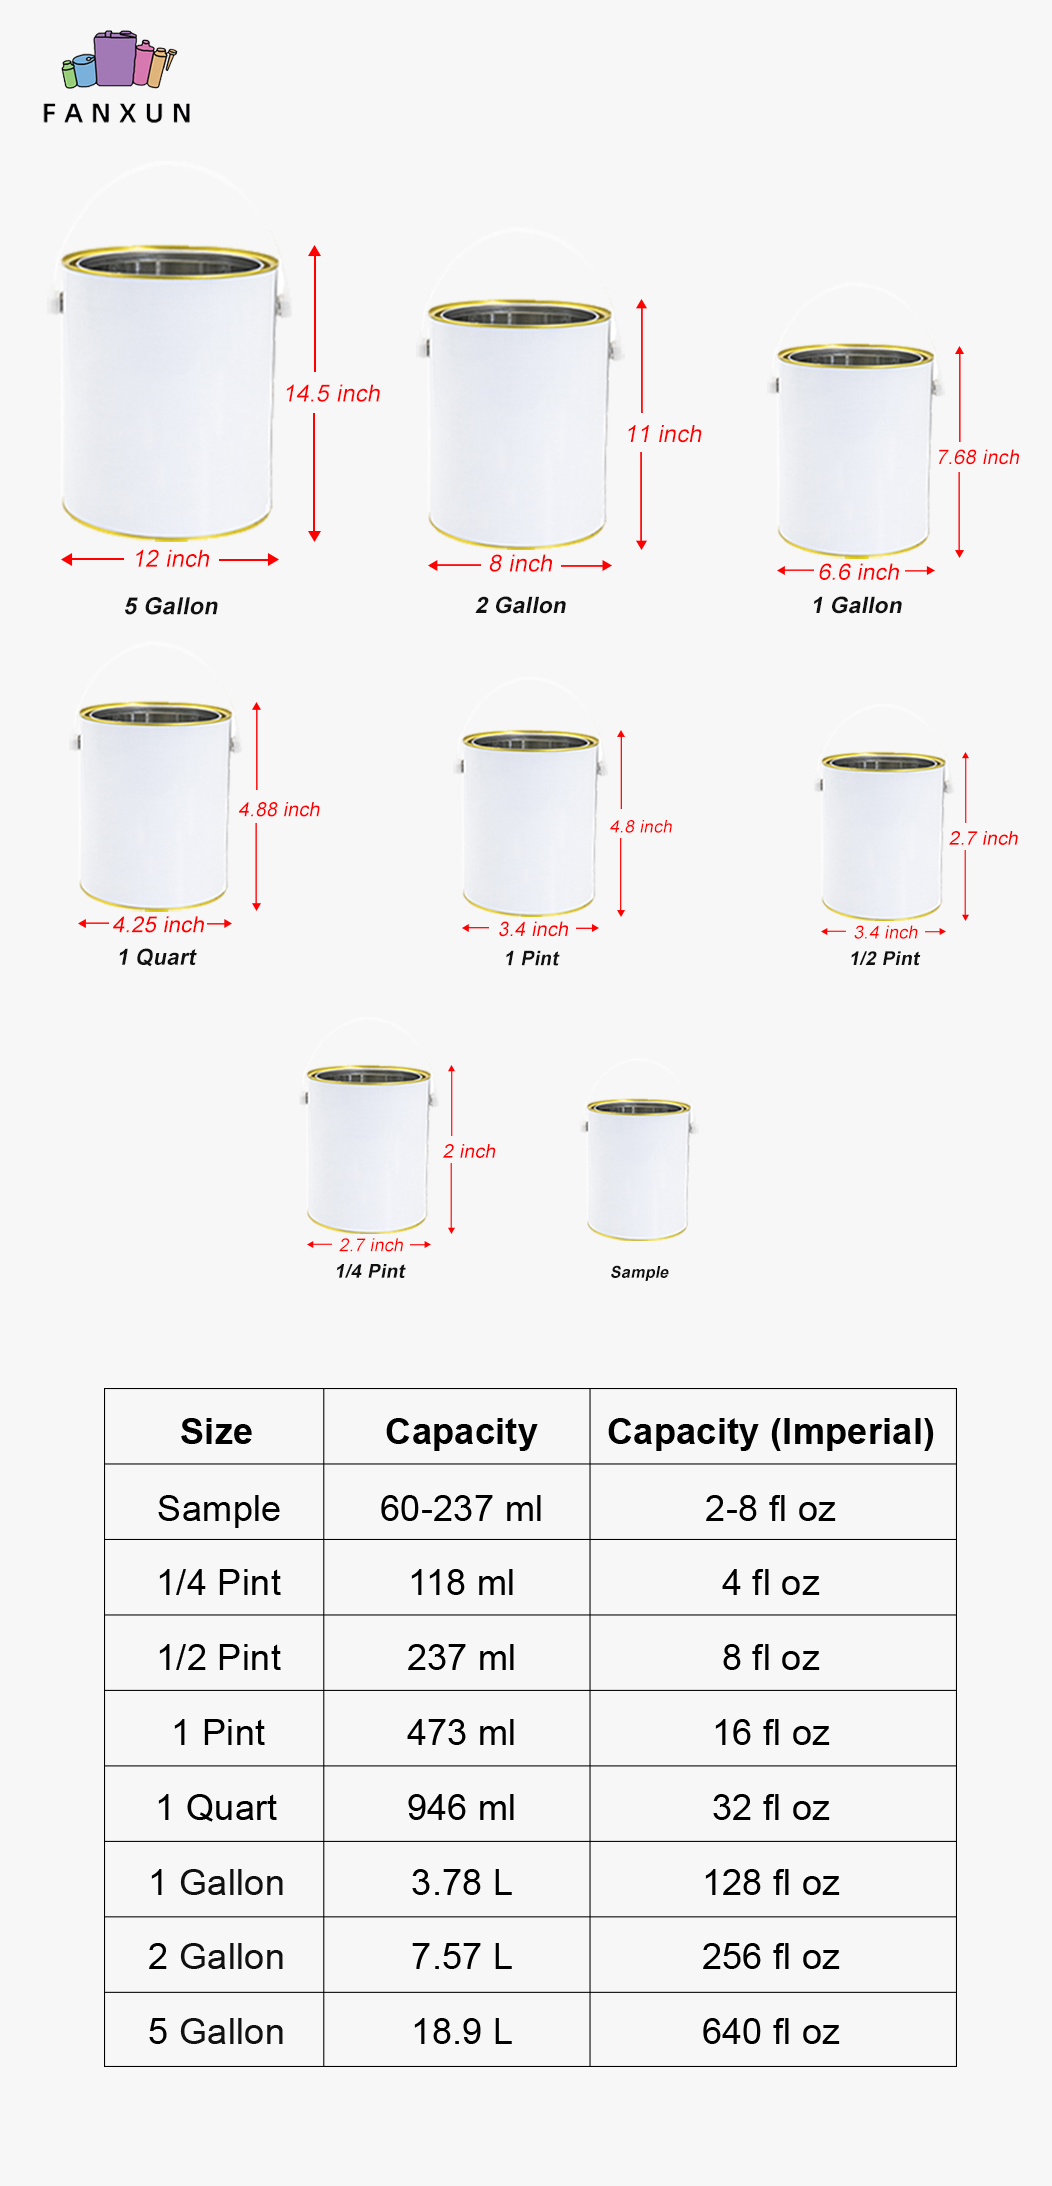
Understanding Paint Can Sizes, Dimensions, and Measurements
Choosing the right size paint can is important for minimizing waste and ensuring you have enough paint to complete your job. Paint is typically sold by volume.
Here’s a table of common paint can sizes and their typical uses:
| Common Name | Approx. Volume (US Liquid) | Approx. Volume (Metric) | Typical Dimensions (Diameter x Height) | Common Uses |
|---|---|---|---|---|
| Tester Pot/Sample | 2 fl oz – 8 fl oz | ~60 mL – 237 mL | Varies widely | Testing colors, very small crafts |
| Quarter-Pint cans | 4 fl oz (Actual volume may vary) | ~118 mL | ~2.7″ x 2″ (~6.8cm x 5cm) | Small touch-ups, hobby projects |
| Half-Pint paint cans | 8 fl oz | ~237 mL | ~3.4″ x 2.7″ (~8.6cm x 6.8cm) | Small projects, detailed work |
| Pint paint cans | 16 fl oz | ~473 mL | ~3.4″ x 4.9″ (~8.6cm x 12.4cm) | Small furniture pieces, accents |
| Quart paint cans | 32 fl oz | ~946 mL | ~4.25″ x 4.875″ (~10.8cm x 12.4cm) | Trim, doors, a single piece of furniture |
| Gallon paint cans | 128 fl oz | ~3.785 Liters | ~6.625″ x 7.6875″ (~16.8cm x 19.5cm) | Walls in an average room, larger projects |
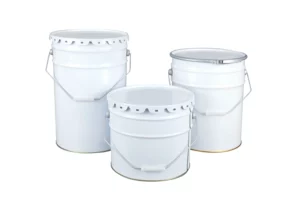
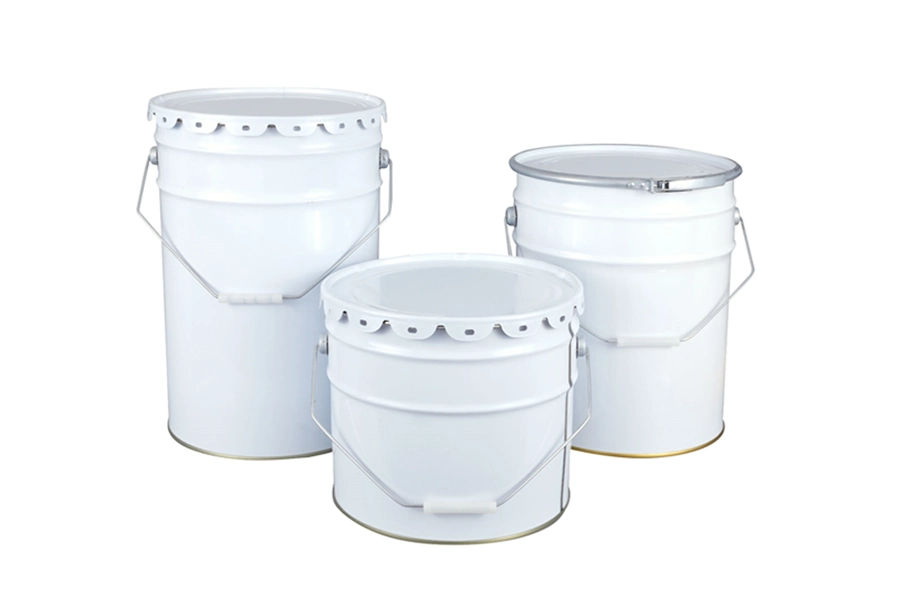
| 2-Gallon paint cans | 256 fl oz | ~7.57 Liters | Larger, often pail-style | Larger rooms, multiple rooms, exterior sections |
| 5-Gallon Pail paint cans | 640 fl oz | ~18.9 Liters | ~12″ x 14.5″ (~30.5cm x 36.8cm) | Large scale projects, full exteriors, commercial |
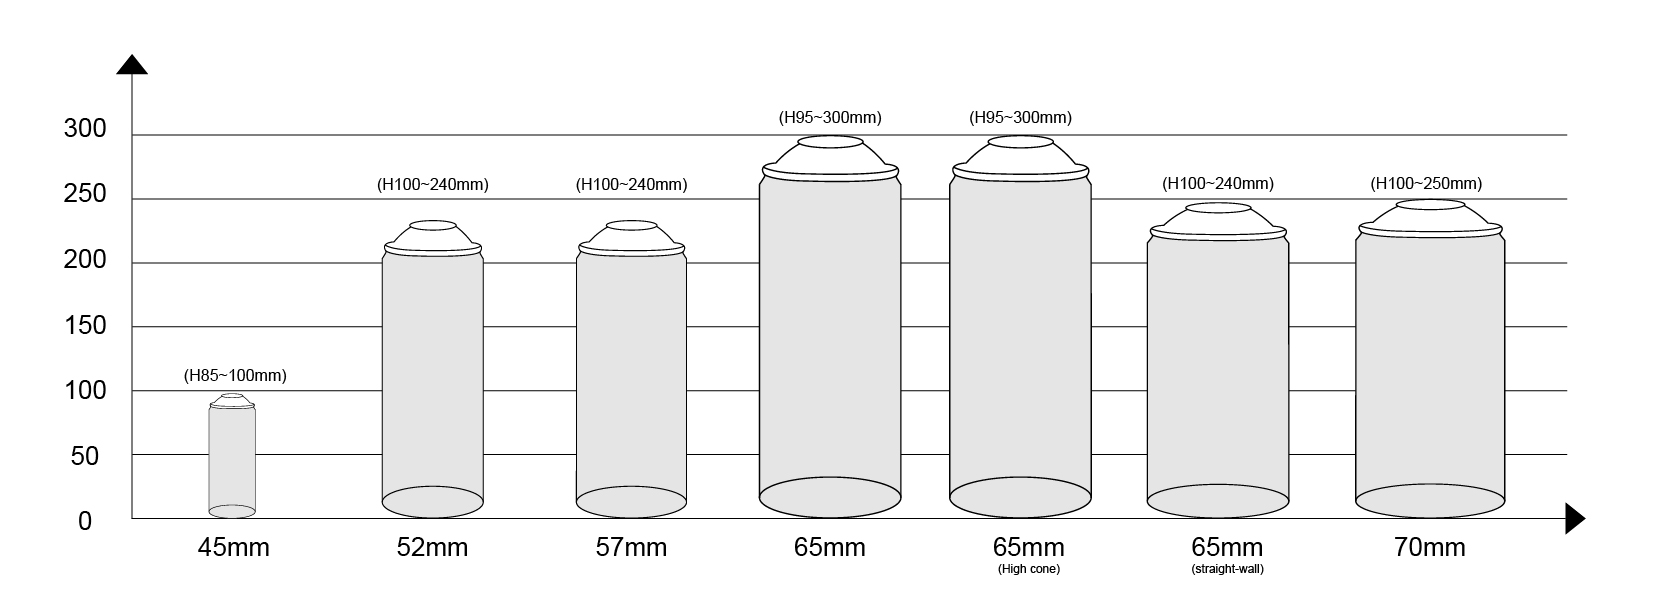
エアゾール缶 Sizes: Aerosol paint cans are usually measured by net weight (例えば。, 10 オズ, 12 オズ, 15 オズ). This weight includes the paint, solvents, and propellant. The actual volume of paint is less. Standard spray paint cans often provide coverage for about 20-25 square feet per can for a single coat.
Estimating How Much Paint You Need:
- For Walls: Calculate the surface area of your walls (Length x Height). Subtract large openings like doors and windows. Most paint cans will state their approximate coverage (例えば。, “One gallon covers up to 400 sq ft”). Divide your total square footage by the can’s coverage. Remember you’ll likely need two coats for good coverage, especially when changing colors.
- For Furniture/Objects: This is harder to calculate precisely. It’s often better to overestimate slightly, especially with quarts or smaller cans.
Storing Leftover Paint: Keeping it Fresh for Future Use
Properly storing leftover paint can save you money and hassle for future touch-ups. The key is an airtight seal and the right environment.
How to Reseal a Traditional Paint Can:
- Clean the Rim: Wipe any paint out of the can’s rim groove and off the lid. Dried paint in the groove will prevent a good seal.
- Use a Barrier (Optional but Recommended): Place a piece of plastic wrap over the opening of the can before putting the lid back on. This creates an extra barrier against air.
- Replace the Lid: Position the lid squarely on top of the can.
- Seal it Tight:
- Best Method: Use a rubber mallet to gently tap the lid down all around its circumference.
- Alternative: If you don’t have a mallet, place a block of wood over the lid and gently tap the wood with a hammer, working your way around the edge. This distributes the force and prevents denting the lid. Do not hammer directly on the lid.
- Label: Clearly label the can with the date, paint color, brand, and the room/object it was used for.
- Store Correctly:
- Store cans in a cool, 乾燥した場所, away from direct sunlight and extreme temperatures (avoid garages or sheds that freeze in winter or get extremely hot in summer). Basements or climate-controlled utility closets are ideal.

- Upside Down Storage (for solvent-based paints): Some people recommend storing solvent-based (oil-based) paints upside down once sealed. The theory is that the solvents create an airtight seal against the lid, preventing a skin from forming on the paint. For latex (water-based) paints, this is generally not necessary and might even be counterproductive if the seal isn’t perfect. Check manufacturer recommendations.
- Store cans in a cool, 乾燥した場所, away from direct sunlight and extreme temperatures (avoid garages or sheds that freeze in winter or get extremely hot in summer). Basements or climate-controlled utility closets are ideal.
Storing Aerosol Cans:
- Ensure the nozzle is clear (as described earlier).
- Replace the cap securely.
- Store upright in a cool, 乾燥した場所, away from heat sources, sparks, or open flames, as they are pressurized and flammable.
Paint Can Disposal: The Responsible Way
Disposing of paint and paint cans isn’t as simple as tossing them in the trash. Paint, especially oil-based, can be hazardous. Regulations vary by location, so always check with your local municipality or waste management service first.
Empty Paint Can Disposal:
- Metal Cans (Latex or Oil-Based): If a metal paint can is completely empty and dry, it can often be recycled with other metals. “Empty” means no more than an inch of dried paint residue in the bottom, and the sides should be dry. Some areas require the lid to be removed.
- エアゾール缶: Once completely empty of paint and propellant (they no longer hiss when the nozzle is pressed), they are often treated as recyclable metal. Some communities have specific instructions for aerosol can recycling. Never puncture an aerosol can that is not completely empty, as it can explode.
- Plastic Cans: If completely empty and dry, and made of a recyclable plastic type (check the number on the bottom), they might be recyclable. Again, local rules apply.
Disposal of Cans with Leftover Paint:
This is where it gets more complicated, especially with liquid paint.
-
Latex (Water-Based) Paint:
- Use It Up: The best option is to use all the paint. Can you do an extra coat? Paint something else?
- Dry It Out: If you have a small amount (less than 1/4 できる), you can dry it out.
- Remove the lid and let it air dry in a well-ventilated area away from children and pets. This can take several days or weeks.
- To speed it up, stir in an absorbent material like cat litter, sawdust, or a commercial paint hardener until the paint solidifies.
- Dispose of Dried Latex: Once completely solidified, many (but not all) municipalities allow you to dispose of the dried latex paint in your regular household trash. The can should be left open or the lid loosely placed so waste collectors can see it’s dry. Again, verify local regulations.
- Donate: If the paint is still usable, consider donating it to a local community group, theater, school, or a paint recycling/reuse program if available in your area.
-
Oil-Based (Solvent-Based/Alkyd) Paint:
- NEVER Dry It Out or Put in Trash: Liquid oil-based paint is considered Household Hazardous Waste (HHW) because it is flammable and contains harmful solvents.
- HHW Collection: You must take oil-based paint (and cans containing it) to a designated HHW collection facility or event in your community. Contact your local government or waste management authority to find out where and when these are available.
- Do Not Pour Down Drains or on Ground: This can contaminate soil and water sources.
Aerosol Cans with Leftover Paint: If an aerosol can still contains paint or propellant, it is usually treated as HHW. Do not try to empty it by spraying indiscriminately. Take it to an HHW facility.
Table: General Paint Disposal Guidelines (Always Verify Locally!)
Aspects to Consider When Dealing with Paint Cans
- 安全性: Always prioritize safety. Use appropriate Personal Protective Equipment (PPE) like gloves, ゴーグル, and respirators when painting or handling solvents. Ensure good ventilation.
- Environment: Be mindful of the environmental impact. Choose eco-friendly or low-VOC (Volatile Organic Compound) paints when possible. Dispose of paint and cans responsibly to prevent pollution.
- Quantity Estimation: Try to buy only the amount of paint you need to reduce waste. Most paint stores can help you estimate.
- Quality of Can: While most cans are standard, a poorly made can could be prone to rust or leakage. This is generally more of a concern for bulk storage or industrial applications.
- Paint Type vs. Can Type: Consumers typically don’t choose the can; it comes with the paint. しかし, the type of paint (例えば。, solvent-heavy) dictates the can material and internal lining chosen by the manufacturer.
よくある質問 (よくある質問) About Paint Cans
- Q1: How long does paint last in a sealed can?
- あ: Unopened, high-quality latex paint can last up to 10 年, and oil-based paint up to 15 years if stored properly. Once opened, the lifespan decreases. Properly resealed latex might last 2-5 年, while oil-based can last 3-5 年. If it has a very foul odor (beyond normal paint smell), has large rubbery lumps that don’t mix in, or is completely solidified, it’s likely bad.
- Q2: Can I use a paint can that has rust on the outside?
- あ: If the rust is only on the exterior and the can is structurally sound without leaks, the paint inside is likely fine. Wipe off loose rust before opening to prevent it from falling into the paint. If the can is heavily rusted or leaking, the paint may be contaminated.
- Q3: My paint has a skin on top. Is it still good?
- あ: はい, often. Carefully remove the skin with a stir stick. If the paint underneath stirs smoothly and has good consistency, it’s usable. Strain the paint through a paint strainer or old pantyhose to remove any bits of skin before using.
- Q4: What’s the best way to stir paint in a can?
- あ: Use a clean, flat stir stick. Scrape the bottom of the can to lift any settled pigments and mix thoroughly until the color and consistency are uniform. This can take a few minutes. Avoid vigorously shaking a traditional paint can (especially latex), as this can introduce air bubbles.
- Q5: Why is my spray paint can sputtering or not spraying evenly?
- あ: This could be due to several reasons:
- Not shaken enough: Shake well for 1-2 minutes.
- Nozzle clog: Try cleaning the nozzle (as described above). Some cans come with spare nozzles.
- Too cold: Paint and propellant can be affected by cold temperatures. Try warming the can by placing it in a bowl of warm (not hot) water.
- Can is nearly empty.
- あ: This could be due to several reasons:
- Q6: Can I mix old paint with new paint?
- あ: It’s generally okay if it’s the exact same type of paint (latex with latex, oil with oil) and the old paint is still in good condition. Mix a small amount first to test for compatibility. If mixing colors, do so in a separate container.
結論
Navigating the world of paint cans doesn’t have to be complicated. From understanding how to open a paint can without a fuss, to selecting the right paint can sizes, using aerosol paints like a pro, and knowing the critical steps for paint can disposal, you’re now equipped with the knowledge to handle your painting projects more efficiently and responsibly. Remember to always prioritize safety and check your local regulations for paint disposal.
And for those in need of paint cans themselves, whether for packaging products or for large-scale applications, it’s worth noting that companies like ファンシュン are world-class can manufacturers and suppliers. They can provide a wide array of products in different specifications and shapes, ensuring quality containment solutions for various needs.
FANXUNにて, we are deeply committed to environmental stewardship, and this principle is at the heart of our paint can manufacturing process. We proudly produce paint cans crafted from high-quality, eco-grade materials. These materials are carefully selected for their sustainable properties, prioritizing recyclability and a reduced environmental footprint. By utilizing these environmentally conscious materials, we aim to minimize waste and support a circular economy. Choosing FANXUN paint cans means opting for a durable and reliable product that also reflects a commitment to a greener planet, ensuring that your packaging choice contributes positively to sustainability efforts.